The robots.txt file in Yoast SEO
The robots.txt file tells a search engine where it is allowed to go on your website. In this article, we’ll explain how the robots.txt file works with Yoast SEO.

You can improve the way search engines crawl your site with the Crawl optimization settings in Yoast SEO Premium! They allow you to remove unnecessary URLs, so search engines can crawl your site more efficiently!
Do you want to know more about what the robots.txt file is and what it does? Check out our Ultimate guide to robots.txt.
robots.txt file is not writable or your WordPress install has disabled file editing, the information here may not apply. Optionally, you can try edit the file at the server level.The Yoast SEO default directives
By default, WordPress generates a robots.txt file with the following contents:
User-agent: *
Disallow: /wp-admin/
Allow: /wp-admin/admin-ajax.php
When you create a robots.txt with Yoast SEO, we’ll replace the WordPress default with the following:
# START YOAST BLOCK
# ---------------------------
User-agent: *
Disallow:

Sitemap: https://www.example.com/sitemap_index.xml
# ---------------------------
# END YOAST BLOCK
These directives allow all search engines to crawl your site. In addition, we add a link to your sitemap, so search engines, and (specifically Bing) can find it and crawl your site more efficiently.
How to create a robots.txt file in Yoast SEO
The easiest way to create or edit the robots.txt file is through Yoast SEO in the WordPress Dashboard. To do this, follow the steps below.
- Log in to your WordPress website.
When you’re logged in, you will be in your ‘Dashboard’.
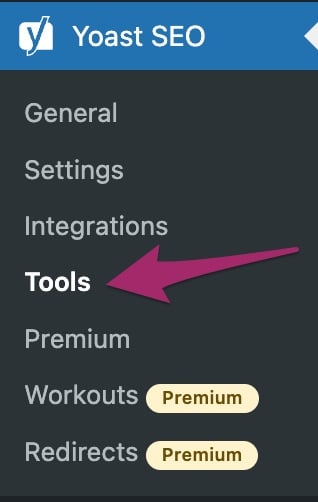
- Click on ‘Yoast SEO’ in the admin menu.

- Click on ‘Tools’.
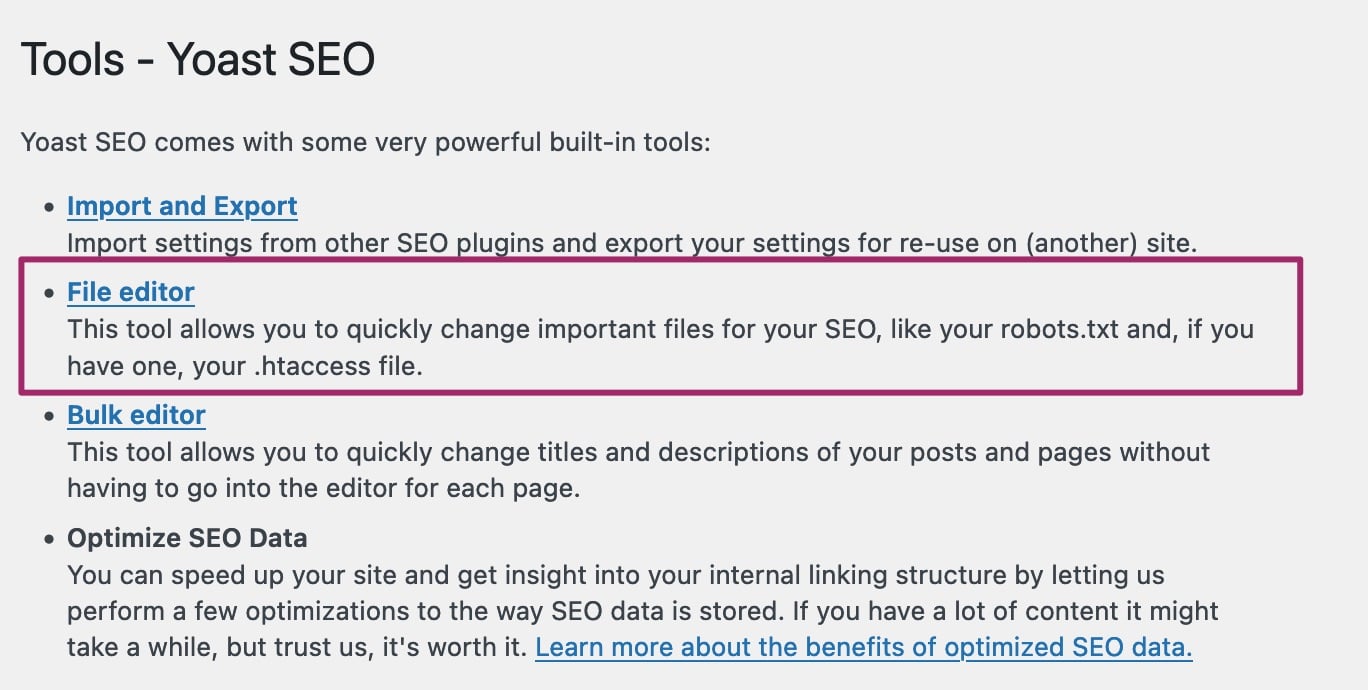
- Click on ‘File Editor’.
This menu will not appear if your WordPress install has disabled file editing. Please enable file editing or edit the file through FTP. If you are not sure how to use FTP, your host provider can help.
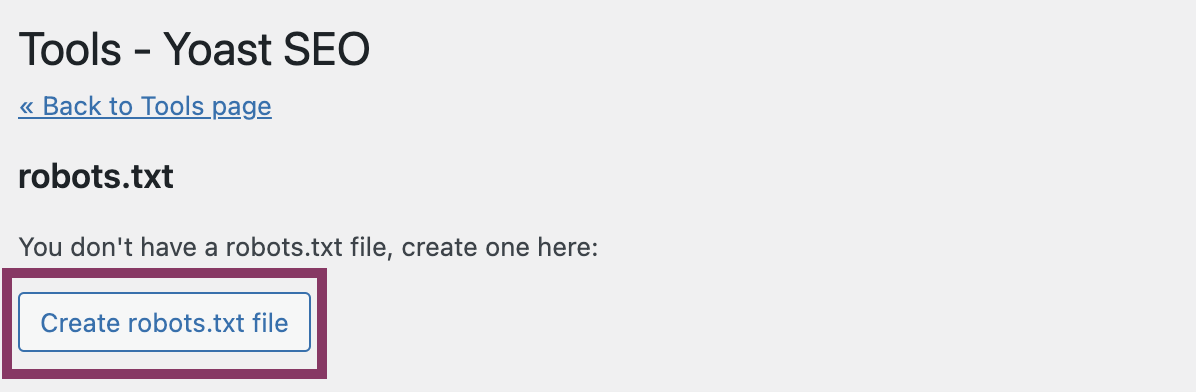
- Click the Create robots.txt file button.
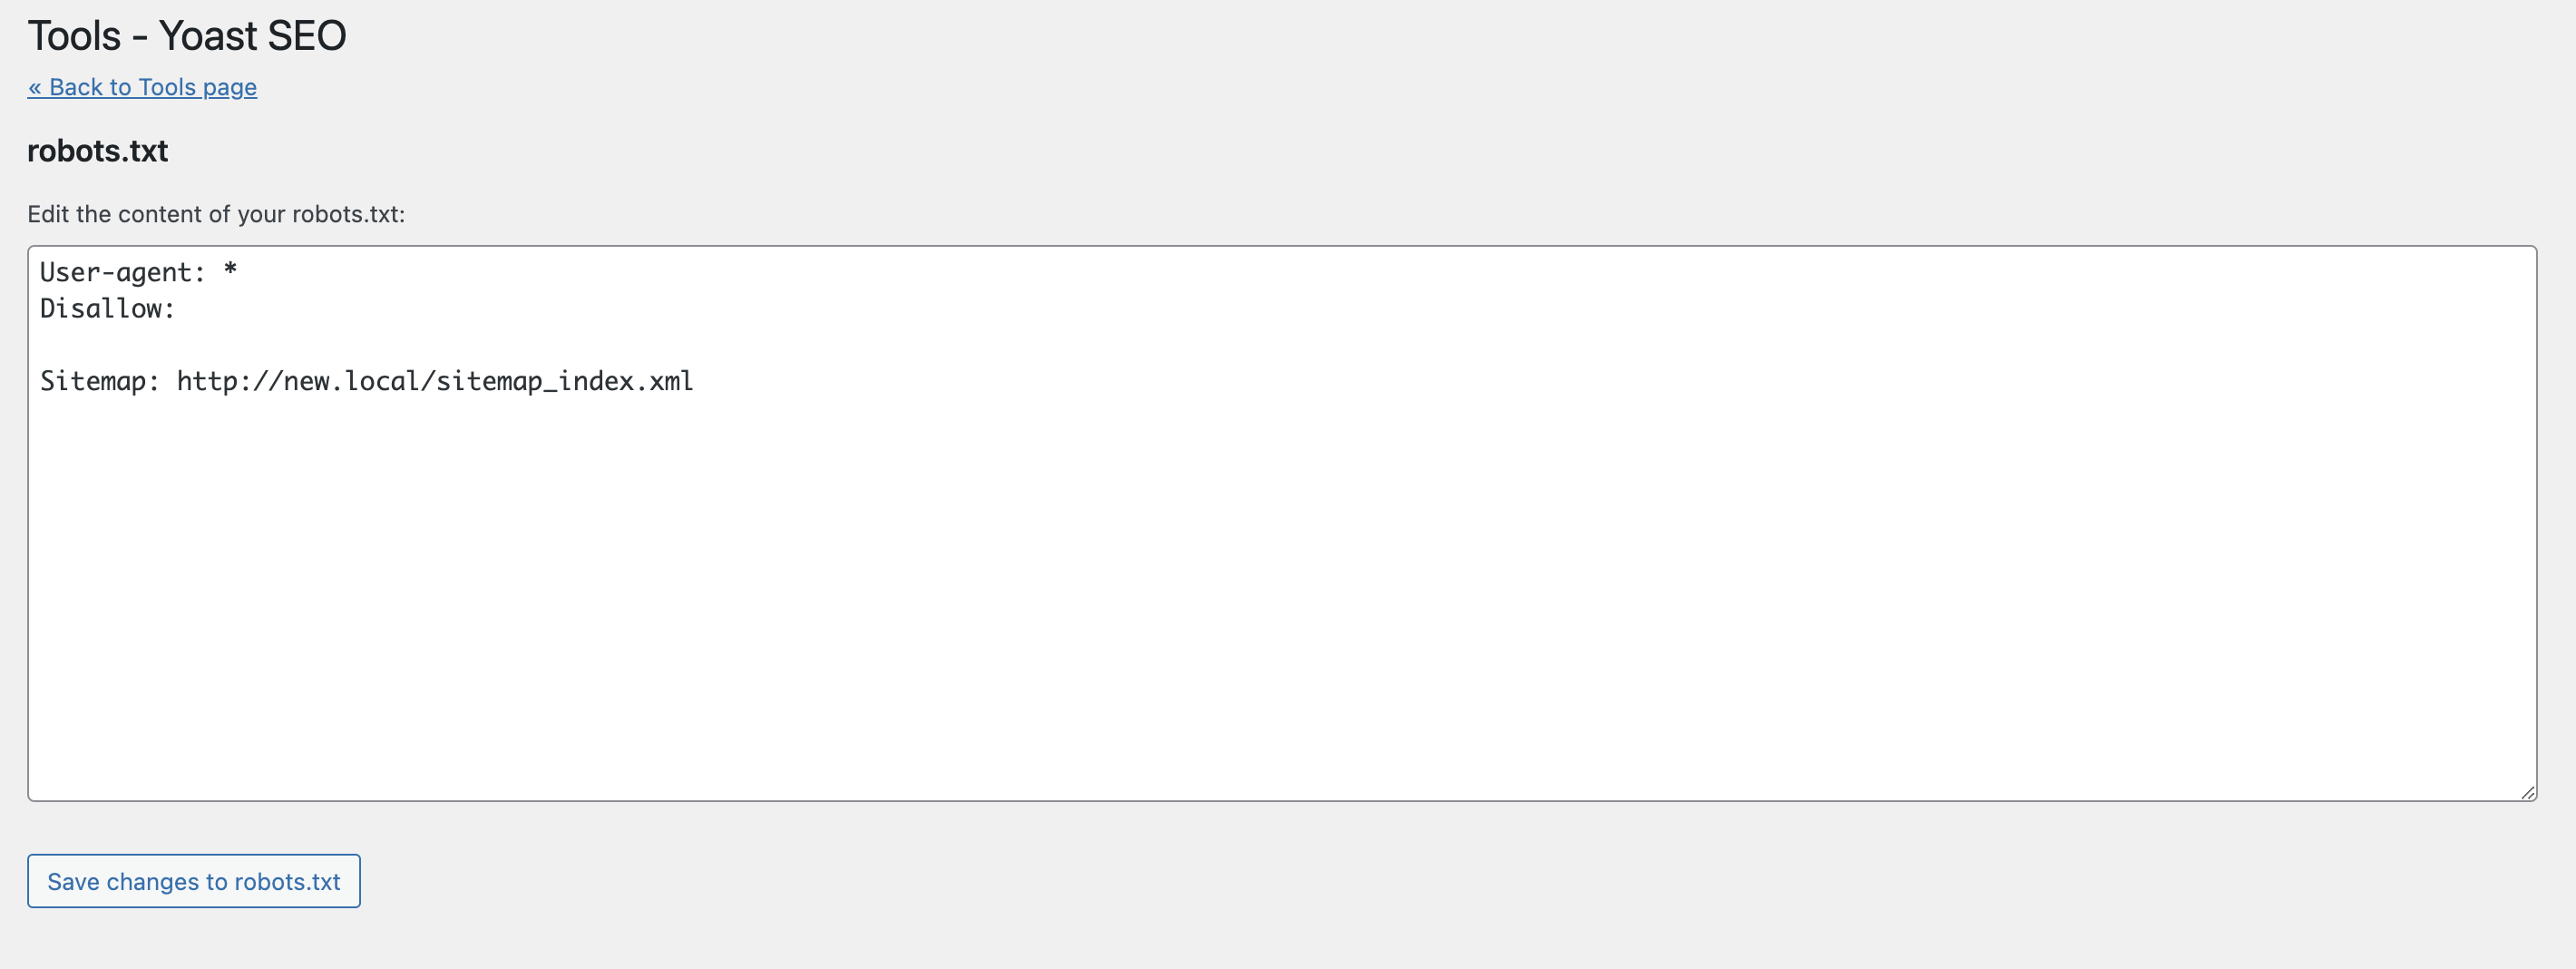
- View (or edit) the file generated by Yoast SEO.
You will see the directions Yoast SEO adds to the file by default. You can also edit the file here.
Create or edit on your server
If the robots.txt file is not writable or your WordPress install has disabled file editing, creating or editing robots.txt with Yoast SEO may fail. In that case, you can edit at the server level. WordPress generates a virtual robots.txt file if the site root does not contain a physical file. To override the virtual file, please follow these steps to create a physical robots.txt file.
- Use your favorite text editor and create a text file.
- Save the empty file with the name
robots.txt. - Upload the file to your server. If you’re unsure where on your server to upload the file, please contact your webhost.
If WordPress was blocking access to the virtual file, you should be able to edit the physical file from our plugin. If not, you can always edit the robots.txt directly on your server using FTP or a server file manager.
Please contact your web host for assistance if you have trouble uploading or editing files on your server.
Related articles


Get Yoast SEO Premium
Drive more traffic to your site. Use AI to save time doing SEO tasks. Make SEO easier. And get 24/7 support.