The redirect manager in Yoast SEO Premium
In this article, we’ll explain the redirect manager in Yoast SEO Premium. You’ll learn where to find the redirect manager in Yoast SEO and how to create redirects with it.
Table of contents
Video: How to create redirects with Yoast SEO
Would you like to watch this video in your own language? Follow these steps to auto-translate the subtitles.
What are redirects?
Whether you’re cleaning up pages on your site or changing your site structure, everybody has to delete posts or pages at some point. Deleting comes with a risk though, because when the old URL gets visitors, they’ll be served a 404 not found error. In most cases, especially for a frequently visited page, you’d want to redirect the old URL to a new one with the information you think is most relevant to these visitors. In other cases you might want to tell your visitors content has been deleted or temporarily show another page. This is not only important for visitors, but also for search engines. You have to tell search engine robots that there has been a change in your URLs and that they have to go somewhere else, temporarily or permanently. You can do that with redirects.
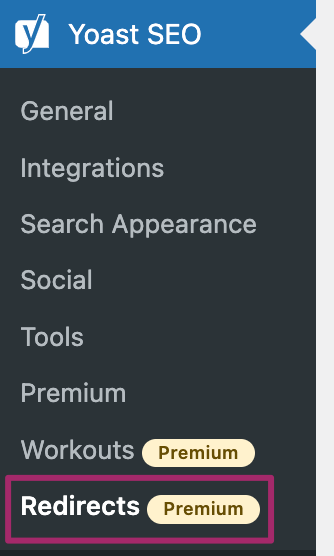
Finding the redirect manager
The premium version of the Yoast SEO plugin can help you with creating and managing redirects. You can find the redirect manager by going to your WordPress backend, clicking “Yoast SEO” and then “Redirects” in the menu on the left-hand side.
Learn more about the other tools and settings Yoast SEO offers in the configuration guide for Yoast SEO.
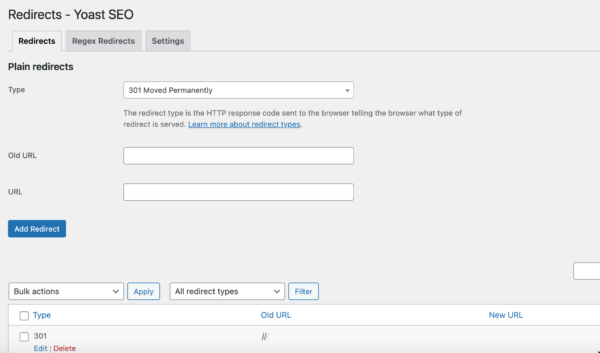
How to create a redirect in Yoast SEO
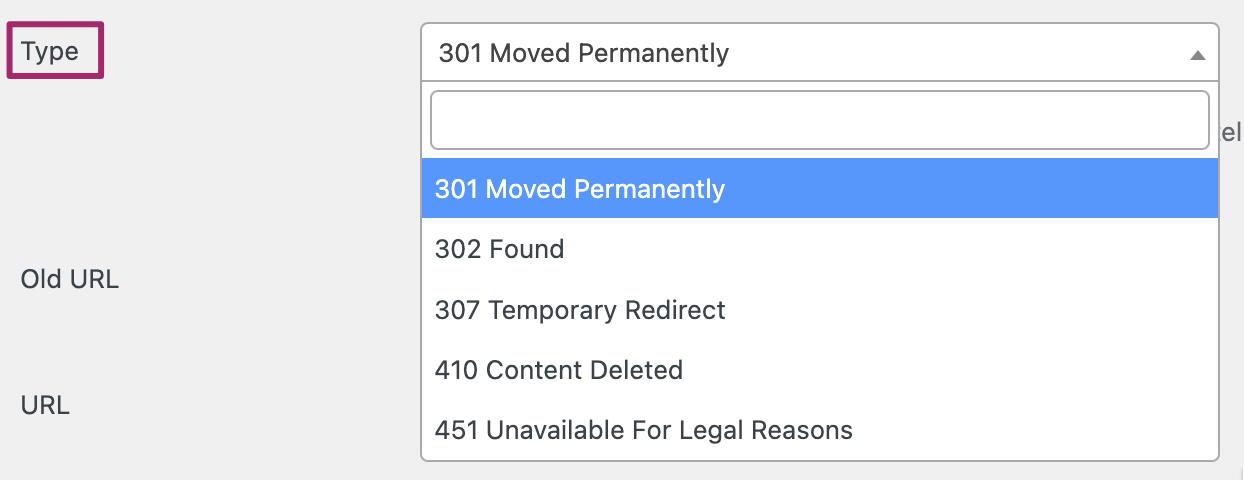
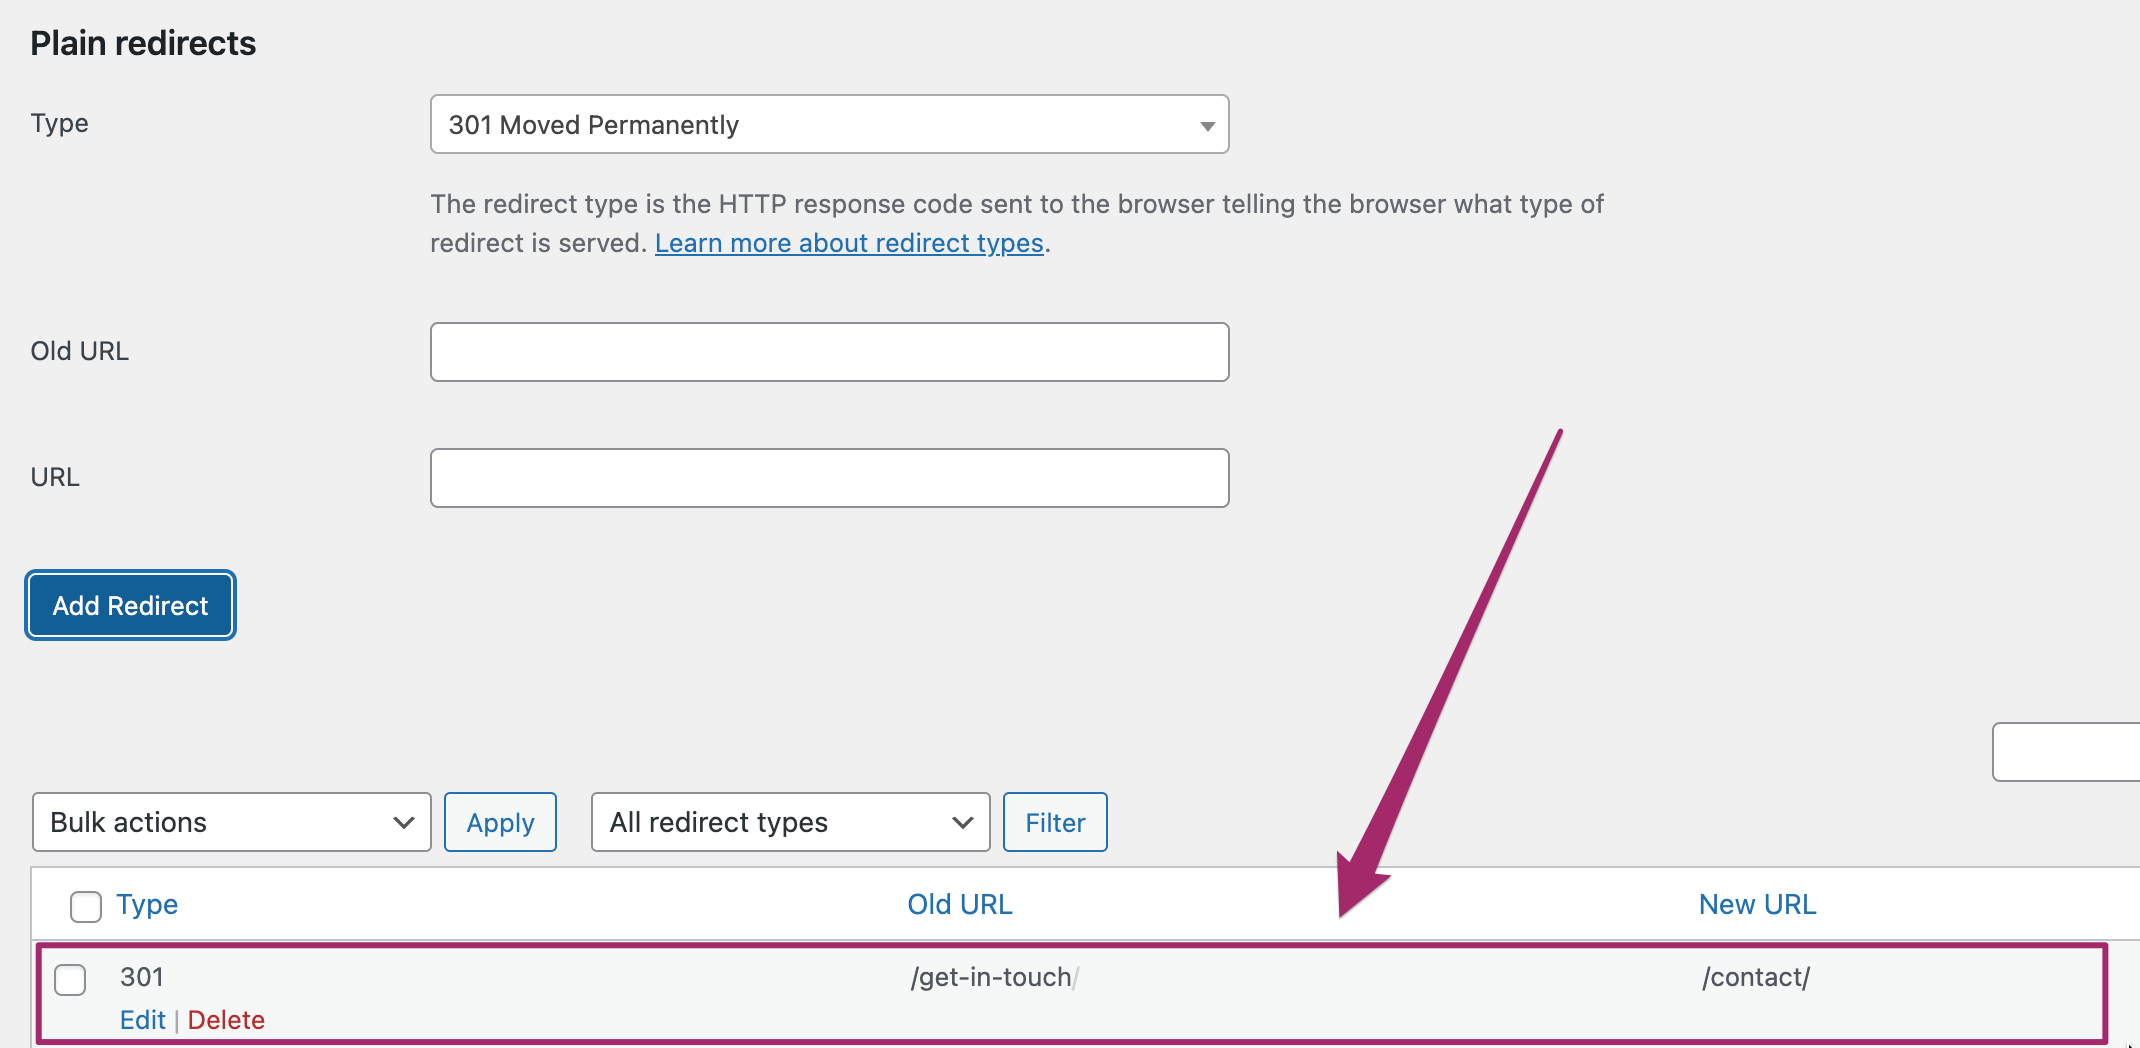
- Select the type of redirect you want to use.
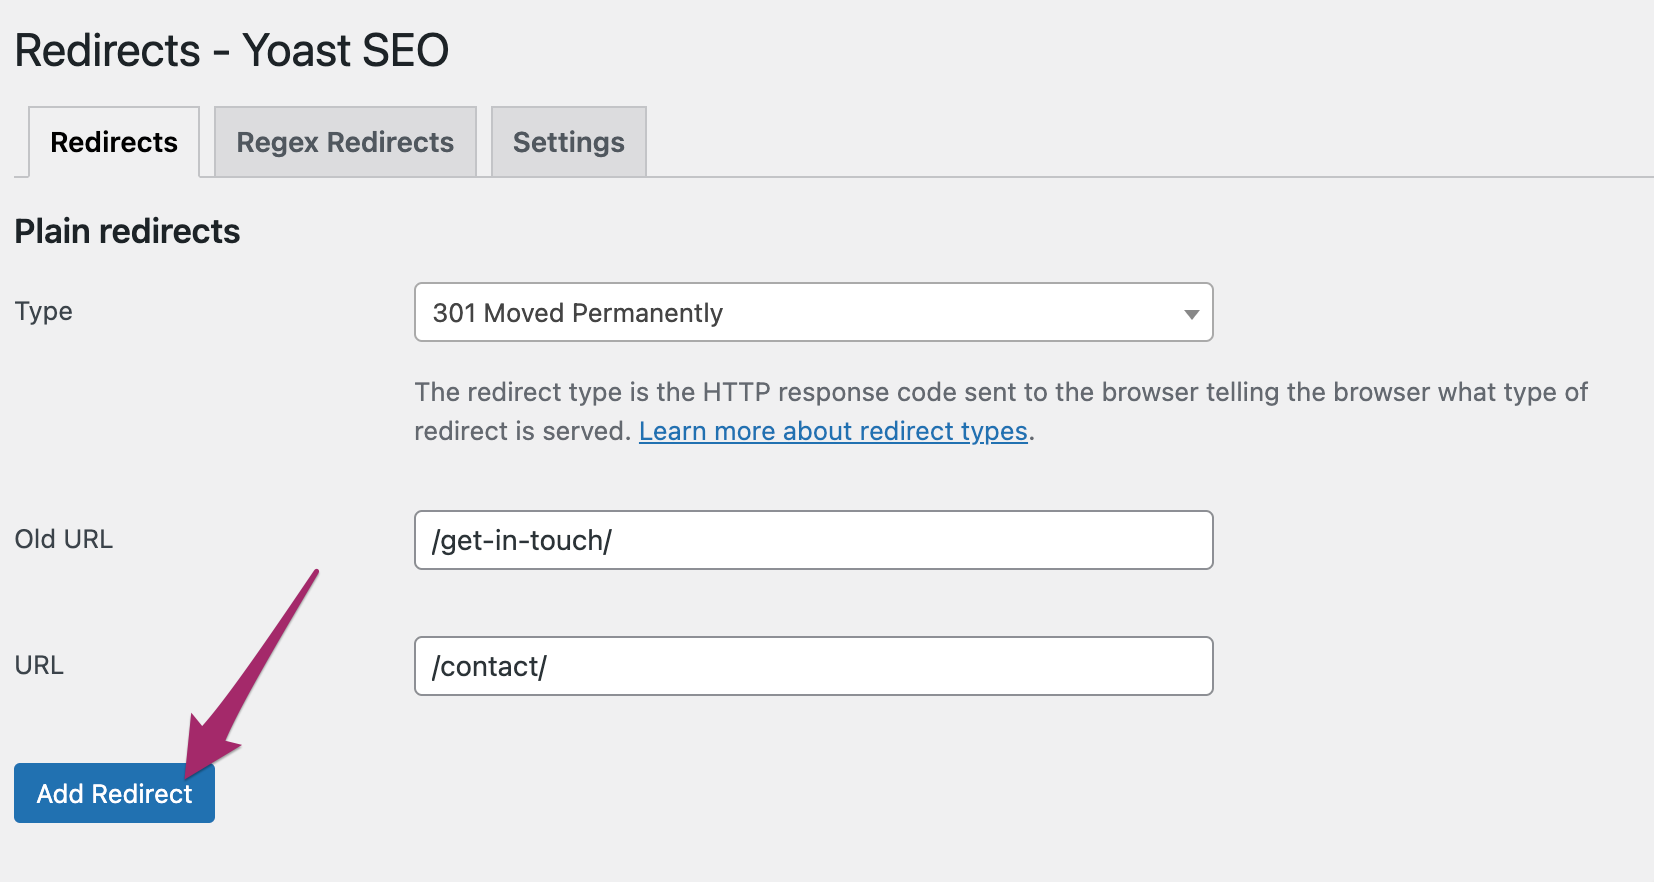
In the redirect manager, first, select the type of redirect you want to use.
- Enter the old URL.
Enter the URL you want to redirect to a new URL. You can either type in the absolute URL (the full URL, e.g. https://www.example.com/contact/) or the relative URL (just the path, e.g. /contact/).

- Enter the new URL.
Enter the URL you want to old URL to redirect to. You can either type in the absolute URL (the full URL, e.g. https://www.example.com/contact/) or the relative URL (just the path, e.g. /contact/).

- Click “Add redirect”.
Click the “Add redirect” button. The redirect manager will check whether the redirect can be made.
- The redirect is created and added to the overview.
When the redirect is created, it will be added to the overview below the redirect manager.
Types of redirects
There are many cases in which you might use a redirect. For example, when you delete a page or post, when you transfer your site to a new domain, or when you change your URL structure. Because of this, there are different redirect types you can choose from in Yoast SEO Premium.
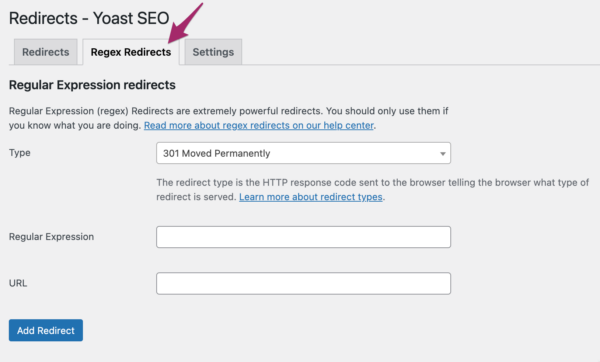
Regex redirects
If you’re an expert SEO and you need to do complex redirections, you may need to use Regex redirects. With normal redirects, you specify a single source URL and a destination URL. With Regex – regular expressions – redirects, you can, for instance, make a single redirect to move entire groups of URLs containing a specific keyphrase to a new location. This could save you a ton of time while working on a massive SEO project. However, you should only use Regex redirects if you know what you’re doing because they can easily break your site.
Settings
The tab “Settings” on the redirects page in the Yoast SEO settings contains settings regarding redirects. Learn more about the redirects settings.
Related articles


Get Yoast SEO Premium
Drive more traffic to your site. Use AI to save time doing SEO tasks. Make SEO easier. And get 24/7 support.